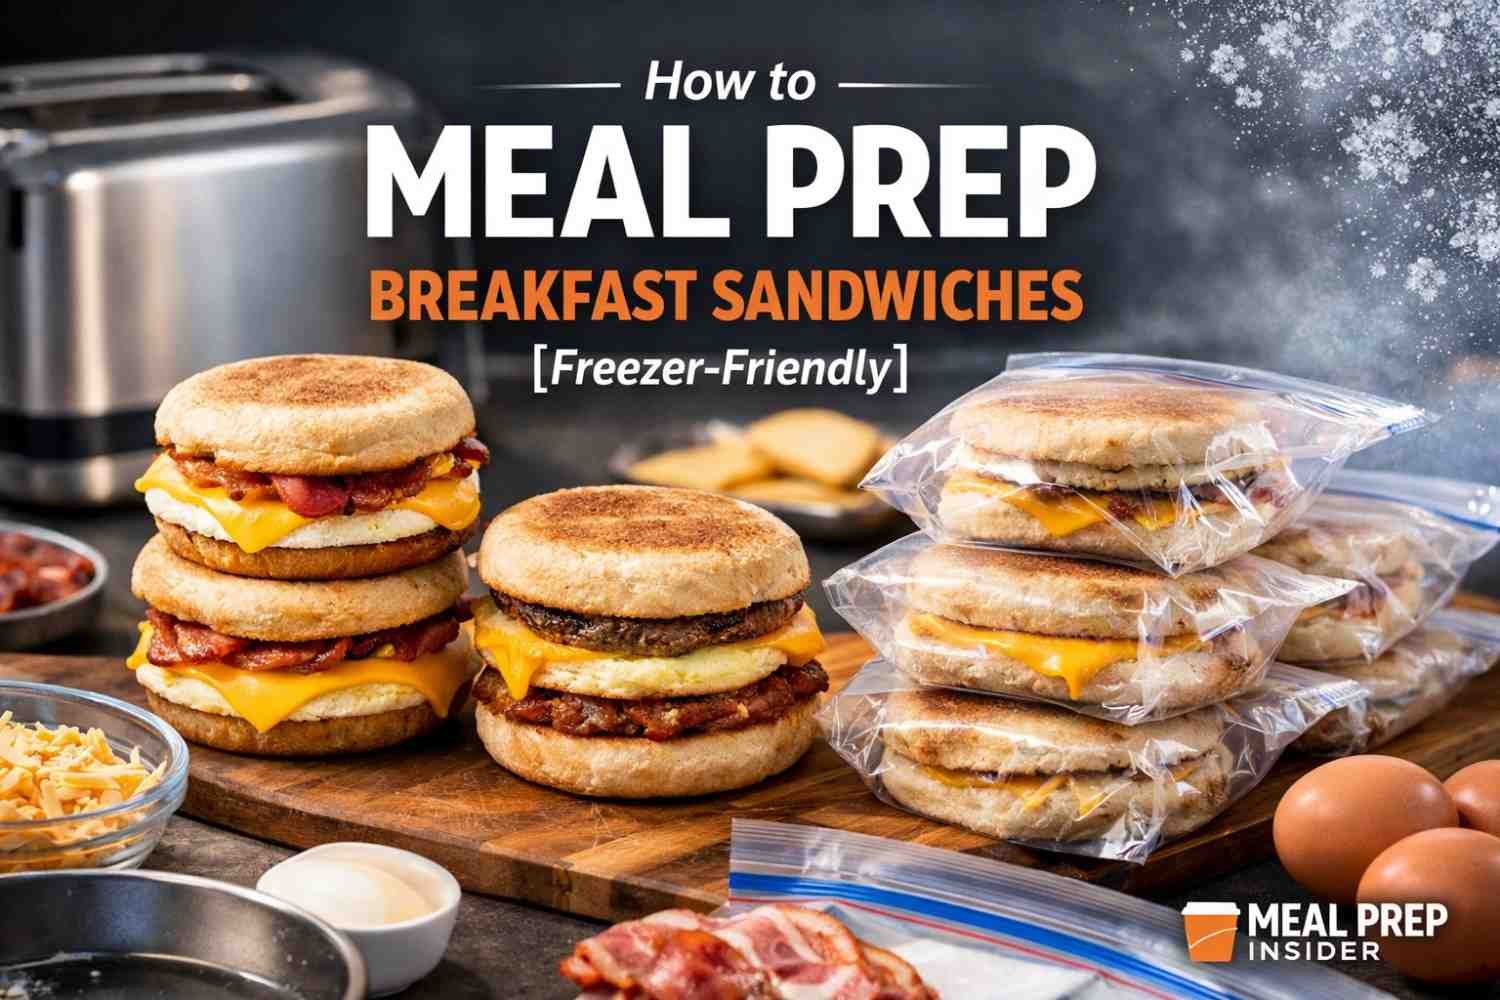
How to Meal Prep Breakfast Sandwiches: Learn exactly how to meal prep breakfast sandwiches for the freezer — from choosing the right ingredients to reheating without the sogginess. Practical, tested, and built for real American mornings.
How to Meal Prep Breakfast Sandwiches [Freezer-Friendly]
There’s something deeply satisfying about opening your freezer at 6:47 a.m. and pulling out a breakfast sandwich that you made yourself.
No drive-thru line. No $8 egg muffin. No skipping breakfast because “there’s nothing quick.”
Just real food. Ready to go.
Meal prepping breakfast sandwiches is one of those things that sounds involved but genuinely isn’t. Once you figure out the right ingredients and method, you’ll wonder why you waited this long.
This guide covers everything — what to use, what to avoid, how to store them right, and how to reheat without turning your sandwich into a soggy mess.
Why Breakfast Sandwiches Are Worth Prepping in Bulk
Most Americans skip breakfast or grab something forgettable on the way to work. That’s not a judgment — mornings are chaotic. But the cost adds up. Both financially and nutrition-wise.
Here’s the reality:
- A breakfast sandwich at a fast food chain runs $4–$7 on average
- A homemade version with quality ingredients costs closer to $1.25–$2.00 each
- At five days a week, that’s a savings of roughly $70–$130 per month
Beyond money, you control what goes in it. No mystery sodium levels. No “processed cheese product.” Just eggs, protein, and whatever makes sense for your week.
And when you batch cook 8–12 at once? Each sandwich costs you maybe 90 seconds of active effort.
What You Need Before You Start
You don’t need a lot. But the right setup helps.
Equipment:
- Large baking sheet (for batch-cooking eggs)
- 9×13 baking dish (works too)
- Parchment paper
- Large skillet or griddle
- Aluminum foil or plastic wrap
- Zip-lock freezer bags or airtight containers
Optional but helpful:
- Silicone egg molds (for perfectly round eggs)
- A toaster oven or air fryer for reheating
Choosing the Right Bread
This is where most people go wrong.
Not all bread holds up the same way in the freezer. Soft, airy breads tend to absorb moisture and get mushy when reheated. You want something with a little more structure.
Best options:
| Bread Type | Freeze Performance | Notes |
|---|---|---|
| English muffins | Excellent | Classic choice, holds up really well |
| Croissants | Good | Buttery, slightly delicate — use within 4 weeks |
| Brioche buns | Good | Richer flavor, denser crumb |
| Bagel thins | Excellent | Less doughy, great for lighter versions |
| Whole wheat sandwich bread | Fair | Gets a bit soft, but works if wrapped tightly |
| Biscuits (homemade) | Excellent | Southern-style — a personal favorite |
Standard white sandwich bread is the one to skip. It disintegrates. Literally turns to paste.
The Egg Layer — Most Important Part
The egg is what makes or breaks a freezer breakfast sandwich.
You want something that reheats evenly and doesn’t turn rubbery. Scrambled eggs work, but they can get a little spongy in the microwave. The best method for freezer sandwiches? Baked sheet eggs.
How to make baked eggs for meal prep:
- Preheat your oven to 325°F
- Line a 9×13 pan with parchment paper and grease it lightly
- Crack 12 eggs into a bowl, whisk with salt, pepper, and a splash of milk (or cream)
- Pour into the pan evenly
- Bake for 18–22 minutes, until just set in the center
- Cool completely, then cut into squares or rounds
No need to babysit the stove. You walk away, the oven handles it.
If you want round eggs that fit English muffins perfectly, use silicone egg rings in a greased skillet and cook low and slow. Takes a bit more attention, but looks cleaner.
One thing to avoid: Overcooked eggs. They’ll be fine going in, but after freezing and reheating, they turn chalky and dry. Pull them out when they’re just barely set.
SIMILAR POST >> How to Meal Prep Breakfast Burritos That Never Get Soggy
Protein Options That Freeze Well
Not all proteins behave the same after freezing. Here’s the breakdown:
Great for freezing:
- Breakfast sausage patties — Pre-cooked, they reheat beautifully. Make your own or use store-bought fully cooked ones.
- Bacon — Cook it fully, let it drain well. Slightly more done than you’d normally eat it (it softens when reheated).
- Canadian bacon/ham slices — One of the best options. Low moisture, holds up really well, heats fast.
- Turkey sausage — Leaner option, works the same way as pork sausage.
- Chicken sausage patties — Great if you want something different.
Avoid:
- Soft-cooked or runny eggs as the protein source alone — the texture changes too much
- Raw or undercooked meats (obviously, but worth saying)
- High-moisture deli meats like roast beef get mushy
Cheese — Yes, It Freezes Fine
Cheese is one of the easier parts of this equation. Most cheeses freeze well and melt nicely during reheating, which actually helps bind the sandwich together.
Best choices:
- American cheese (classic for a reason)
- Cheddar — sharp or mild
- Pepper jack (if you like a kick)
- Provolone
- Swiss
Fresh mozzarella? Skip it. Too much moisture. Same with brie — it gets weird.
Processed cheese slices, while not everyone’s first choice nutritionally, are genuinely great for this application. They melt evenly and help everything stay together.
Building the Sandwich — Order Matters
This sounds like overthinking, but it genuinely affects how the sandwich tastes after reheating.
Best layering order:
- Cheese directly on the egg (it creates a barrier against moisture)
- Meat on top of the cheese
- No sauces — add those after reheating
The cheese-against-egg setup keeps the bread from getting too wet. The moisture from the egg hits the cheese first, which melts and absorbs it, rather than soaking into the bread.
Don’t add any condiments before freezing. Mayo, hot sauce, ketchup — all of those go on after reheating. Adding them before freezing ruins the texture and makes everything wet.
How to Wrap and Store Them
Wrapping is everything. A poorly wrapped sandwich gets freezer burn, absorbs other food smells, and dries out.
Method 1: Foil + freezer bag. Wrap each sandwich tightly in aluminum foil. Then place all wrapped sandwiches in a large zip-lock freezer bag. Press out as much air as possible before sealing.
Method 2: Plastic wrap + foil. Wrap in plastic wrap first (it gets into the crevices better), then wrap in foil. Label with the date.
Method 3: Individual freezer bags. Wrap each sandwich in foil or parchment, and place each one in its own small freezer bag. Easy to grab one at a time without disturbing the others.
Label them. Write the date. Breakfast sandwiches keep well for up to 3 months in the freezer, but they’re honestly best within the first 4–6 weeks.
How to Reheat Breakfast Sandwiches (Without the Sogginess)
This is the part everyone asks about.
The microwave gets a bad rep, but it works fine if you do it right. The toaster oven and air fryer are better, though.
Microwave method (fastest):
- Remove foil completely (never microwave foil)
- Wrap in a damp paper towel — this creates steam and prevents drying out
- Microwave on 50% power for 1 minute
- Flip, heat another 30–60 seconds at full power
- Let it rest for 30 seconds before eating
Total time: about 2 minutes.
Oven/toaster oven method (best texture):
- Leave wrapped in foil
- Bake at 350°F for 15–20 minutes (from frozen)
- Open the foil for the last 3–4 minutes to crisp the bread
Takes longer, but the bread stays better.
Air fryer method (best of both worlds):
- Unwrap sandwich
- Air fry at 320°F for 8–10 minutes, flipping halfway
- Done
The air fryer crisps the outside without drying out the inside. If you have one and you’re reheating more than two sandwiches, this is the move.
What not to do:
- Don’t microwave straight from frozen on full power — the outside heats, the inside stays cold
- Don’t skip the damp paper towel in the microwave
- Don’t rush it
Sample Batch Prep Plan (Makes 10 Sandwiches)
Here’s how to set up an efficient prep session. Plan for about 45–60 minutes total, including cleanup.
| Step | Time | What You’re Doing |
|---|---|---|
| Preheat oven | 0:00 | Set to 325°F |
| Cook sausage patties | 0:05 | Skillet or oven |
| Cook bacon (if using) | 0:15 | Into the pan, then the oven |
| Mix and bake eggs | 0:20 | Into the pan, then oven |
| Toast English muffins slightly | 0:35 | Light toast — not full |
| Assemble sandwiches | 0:40 | Egg, cheese, meat, top |
| Wrap and freeze | 0:50 | Foil, then bag |
Lightly toasting the bread before assembling is a small trick that makes a big difference. It creates a slight crust barrier so the bread doesn’t go fully soft in the freezer or during reheating.
Variations Worth Trying
Once you get the basic method down, there’s a lot of room to mix it up.
Classic American English muffin | fried egg | American cheese | sausage patty
Spicy Southwest Brioche bun | scrambled egg with green chiles | pepper jack | chorizo patty
Lighter Option Bagel thin | egg white | Swiss cheese | Canadian bacon | spinach (add fresh after reheating)
Southern Style Buttermilk biscuit | scrambled egg | sharp cheddar | thick-cut bacon
Vegetarian English muffin | baked egg | provolone | roasted red pepper + caramelized onion (precooked and cooled before assembling)
Common Mistakes to Avoid
A few things that trip people up, especially the first time:
Using wet ingredients before freezing. Tomatoes, fresh spinach, avocado, and sauces — save all of these for after reheating. Frozen and thawed tomatoes are a different food entirely.
Not letting components cool before assembling. Assembling hot components means steam gets trapped. That steam becomes freezer ice, then sogginess. Cool everything to room temp first.
Skipping the double-wrap. One layer of foil is not enough for three months in the freezer. Double up.
Overcrowding the freezer bag. Give each wrapped sandwich enough space so they’re not pressed against each other during the first freeze. Once frozen solid, you can stack them.
Not labeling. You’ll think you’ll remember when you made them. You won’t.
Nutrition and Macros (General Range)
Every sandwich is different, but here’s a rough range depending on your ingredient choices:
| Nutrient | Light Version | Classic Version |
|---|---|---|
| Calories | 280–340 | 400–520 |
| Protein | 18–22g | 22–30g |
| Fat | 10–16g | 22–30g |
| Carbs | 25–32g | 30–40g |
High-protein versions using egg whites, Canadian bacon, and a bagel thin can get you to 25+ grams of protein at under 320 calories. That’s a solid breakfast for most adults.
Frequently Asked Questions
How long do homemade freezer breakfast sandwiches last? Up to 3 months in the freezer when properly wrapped. For the best flavor and texture, eat them within 6 weeks.
Can I refrigerate them instead of freezing? Yes. Assembled sandwiches keep in the fridge for 4–5 days. Wrap tightly and reheat in the microwave for about 1 minute.
Do I have to cook the eggs separately, or can I cook them in the sandwich? Cook them separately. Cooking eggs inside an assembled sandwich doesn’t work well in batch prep. Get everything cooked and cooled, then assemble.
Can I use egg whites only? Absolutely. Baked egg whites work the same way as whole eggs. Add a little extra salt since yolks carry a lot of flavor.
What if my bread gets soggy after reheating? Two likely causes: too much moisture in the egg (overbeaten, or not fully cooked), or warming too fast on full microwave power. Go slower and use the damp paper towel method.
Is it safe to reheat these multiple times? No. Reheat once from frozen. Don’t refreeze a thawed sandwich.
Can I make these dairy-free? Yes. Skip the cheese or use a dairy-free alternative. Use oil instead of butter when cooking eggs. Most breads are already dairy-free — just check the label.
What’s the best protein for a high-protein version? Canadian bacon or turkey sausage patties paired with whole eggs give you the best protein-to-calorie ratio without too much added fat.
Can kids eat these? Definitely. Scale down the seasoning, skip any spicy proteins, and cut the sandwich in half if needed. Kids do well with the classic English muffin version.
Do I need special equipment to make these? No. A baking pan, a skillet, foil, and freezer bags are all you actually need. The rest is optional.
Final Thoughts
Meal prepping breakfast sandwiches isn’t a life hack. It’s just a practical decision.
You spend an hour on a Sunday. Then every morning that week, breakfast is handled. That’s worth something — especially when mornings are already full enough.
Start with a simple batch of 6. English muffins, baked eggs, sausage patties, and American cheese. Get the method right before you start experimenting with variations.
Once you’ve got it down, you’ll find yourself making 12 at a time without thinking twice.
SUGGESTED POST >> 27 Meal Prep Veggie Ideas Worth Trying Now: For Busy Weeks