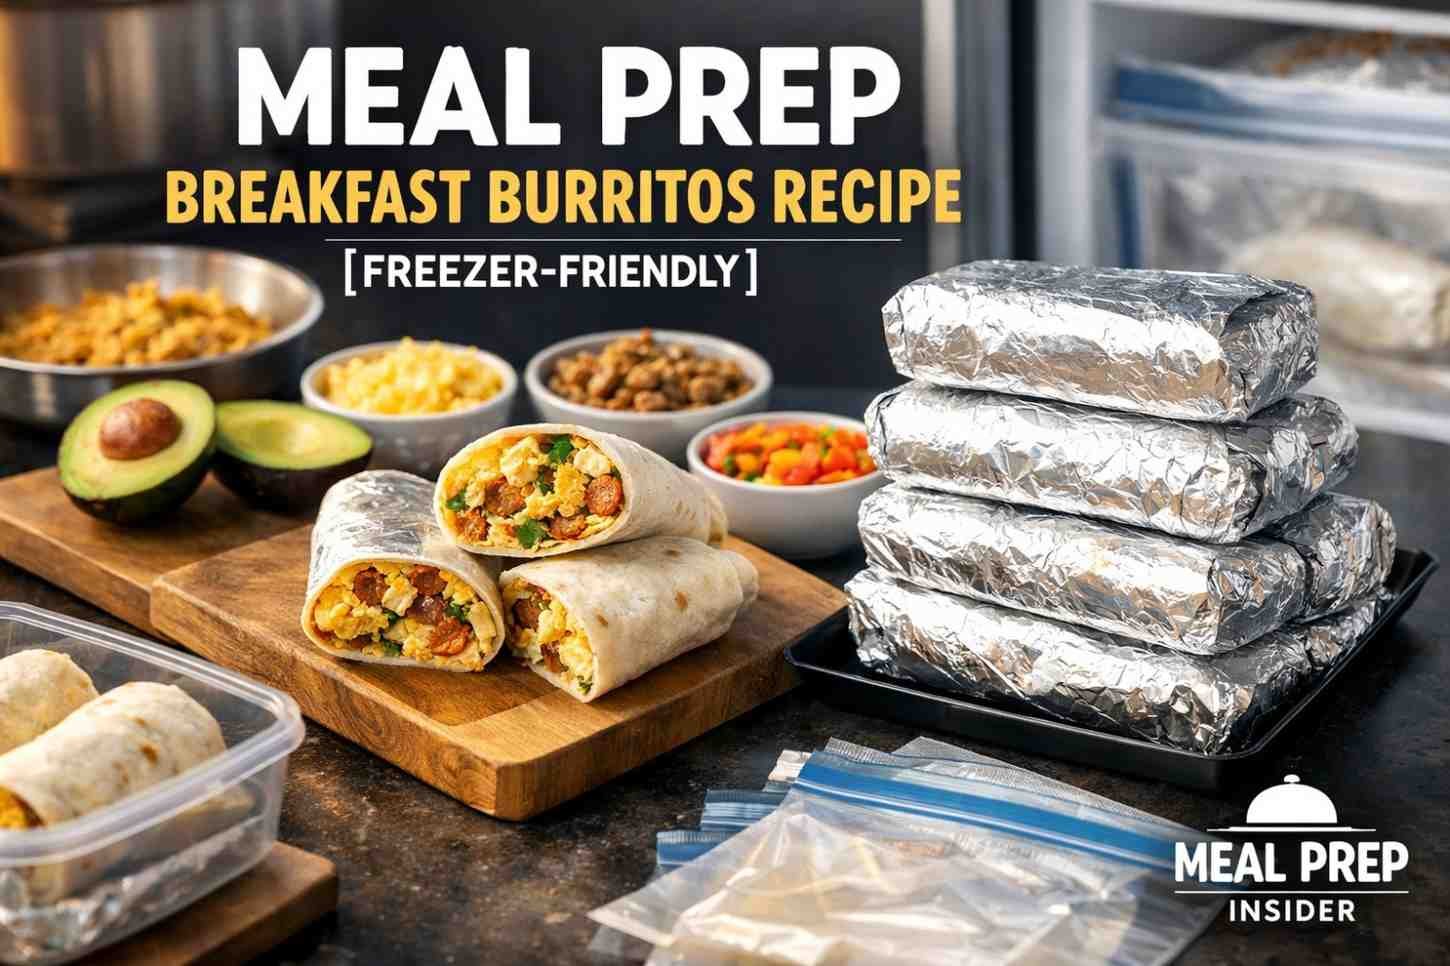
Meal Prep Breakfast Burritos: Make healthy breakfast burritos in bulk, freeze them, and reheat in minutes. Packed with protein, customizable, and perfect for busy weekday mornings. Here’s exactly how to do it right.
Healthy Meal Prep Breakfast Burritos Recipe [Freezer-Friendly]
Mornings are brutal. You’re half-awake, maybe running late, and the last thing you want to do is cook. So most people either skip breakfast entirely or grab something they know they shouldn’t.
Here’s the fix: breakfast burritos. Made ahead. Frozen. Ready in two minutes flat.
This isn’t a complicated recipe. It’s a system. Once you get it down, Sunday becomes the only morning you actually cook breakfast — and you eat well every single day after that.
Let’s get into it.
Why Breakfast Burritos Are the Perfect Meal Prep Food
Not every food freezes well. Salads? Terrible. Pancakes? Acceptable, but annoying. Breakfast burritos? They’re practically designed for it.
The structure works in your favor. A flour tortilla acts as a natural wrapper, retaining moisture during reheating. The fillings — eggs, cheese, vegetables, protein — reheat evenly and hold their texture better than most people expect.
There’s also the customization factor. You can make a batch of 10 burritos and keep 4 different variations in the same freezer bag. One with sausage, one vegetarian, one extra spicy. It’s not one-size-fits-all. It’s meal prep with actual flexibility.
And from a nutrition standpoint, you’re in control. No mystery ingredients. No preservatives. You decide the protein, the fiber, the fat. That’s something a drive-through will never give you.
What You Need (Ingredients)
This recipe makes about 8 burritos. Scale up or down depending on your week.
The Base:
- 8 large flour tortillas (burrito-size, 10-inch)
- 10 large eggs
- ½ cup whole milk or non-dairy alternative
- Salt and black pepper to taste
- 1 tablespoon olive oil or butter
The Protein (pick one or mix):
- 1 lb breakfast sausage (turkey or pork), casings removed
- 1 cup black beans, rinsed and drained
- 1 cup diced ham
- 6 strips of bacon, cooked and crumbled
The Vegetables:
- 1 cup bell peppers, diced (any color)
- ½ cup white or yellow onion, finely diced
- 1 cup baby spinach or kale
- ½ cup mushrooms, sliced (optional)
The Flavor Add-ins:
- 1 cup shredded cheese (cheddar, Monterey Jack, or pepper jack)
- ½ cup salsa or pico de gallo (drained — more on this below)
- 1 teaspoon garlic powder
- ½ teaspoon cumin
- ½ teaspoon smoked paprika
- Pinch of cayenne (optional)
For Serving (after reheating):
- Avocado or guacamole
- Hot sauce
- Greek yogurt or sour cream
- Fresh salsa
Equipment You’ll Actually Need
Nothing fancy required.
| Equipment | Purpose |
|---|---|
| Large skillet or nonstick pan | Cooking eggs and protein |
| Spatula | Scrambling and folding |
| Cutting board + knife | Prepping vegetables |
| Mixing bowl | Whisking eggs |
| Aluminum foil | Wrapping for the freezer |
| Freezer-safe zip bags | Storing wrapped burritos |
| Parchment paper | Optional, prevents sticking |
A cast-iron skillet works great here if you have one. It holds heat evenly and gives your eggs that slightly golden edge people always love.
Step-by-Step Instructions
Step 1: Cook the Protein
If you’re using sausage, cook it in your skillet over medium-high heat. Break it apart as it cooks. You want browned, crumbled pieces — not a solid chunk. Drain any excess grease and set aside.
For bacon, cook until crisp, then crumble. For black beans, just drain, rinse, and warm them briefly in the pan with a little cumin. Done.
Step 2: Sauté the Vegetables
In the same skillet (with a little of that leftover fat from the protein — don’t throw it all away), add your onions and bell peppers. Cook over medium heat for about 4-5 minutes until softened.
Add garlic powder, cumin, smoked paprika, and a pinch of cayenne if you’re using it. Stir it in. Then add the spinach and let it wilt, which takes about a minute.
Remove from heat and set aside with the protein.
Step 3: Scramble the Eggs
Whisk your eggs with the milk, salt, and pepper in a bowl. Don’t over-whisk. You want them combined, not frothy.
Heat a little butter or olive oil in your pan over medium-low heat. Pour in the eggs. Let them sit for a moment, then slowly fold with a spatula. You want large, soft curds — not dry, rubbery pieces.
Pull them off the heat when they’re just slightly underdone. They’ll finish cooking when you reheat the burrito later. This step is important. Overcooked eggs now mean rubbery eggs later.
Step 4: Drain Everything Well
This is the step most recipes skip, and it’s why people end up with soggy burritos.
If you used salsa or pico de gallo, drain off the liquid. Same with vegetables that release a lot of water (mushrooms, especially spinach). Pat things down with a paper towel if needed.
Moisture is the enemy of a good freezer burrito. Get rid of it before it gets trapped inside.
Step 5: Warm the Tortillas
Cold tortillas crack when you roll them. Warm them up.
Thirty seconds in the microwave, wrapped in a damp paper towel, works perfectly. Or place them directly on a gas burner for about 15 seconds per side if you want a slight char. Either way — warm tortillas fold without splitting.
Step 6: Assemble the Burritos
Lay your tortilla flat. Leave about 2 inches of space from the edges.
Layer in this order:
- Cheese first (it melts into the warm eggs and acts like glue)
- Eggs
- Protein
- Vegetables
- A small spoonful of drained salsa
Don’t overfill. This is a common mistake. About ¾ to 1 cup of filling per burrito is the sweet spot. More than that, the tortilla won’t close properly, and it’ll fall apart during reheating.
Fold in the sides. Then roll forward, tucking tightly as you go. The goal is a snug package with no gaps.
Step 7: Wrap and Freeze
Let the burritos cool completely before freezing. If you wrap them while still hot, steam builds up inside and makes them soggy.
Wrap each one tightly in aluminum foil. Then place the wrapped burritos in a large freezer bag. Squeeze out as much air as possible before sealing.
Label the bag with the date and contents. They’ll keep well in the freezer for up to 3 months, though honestly, they’re best within the first 4-6 weeks.
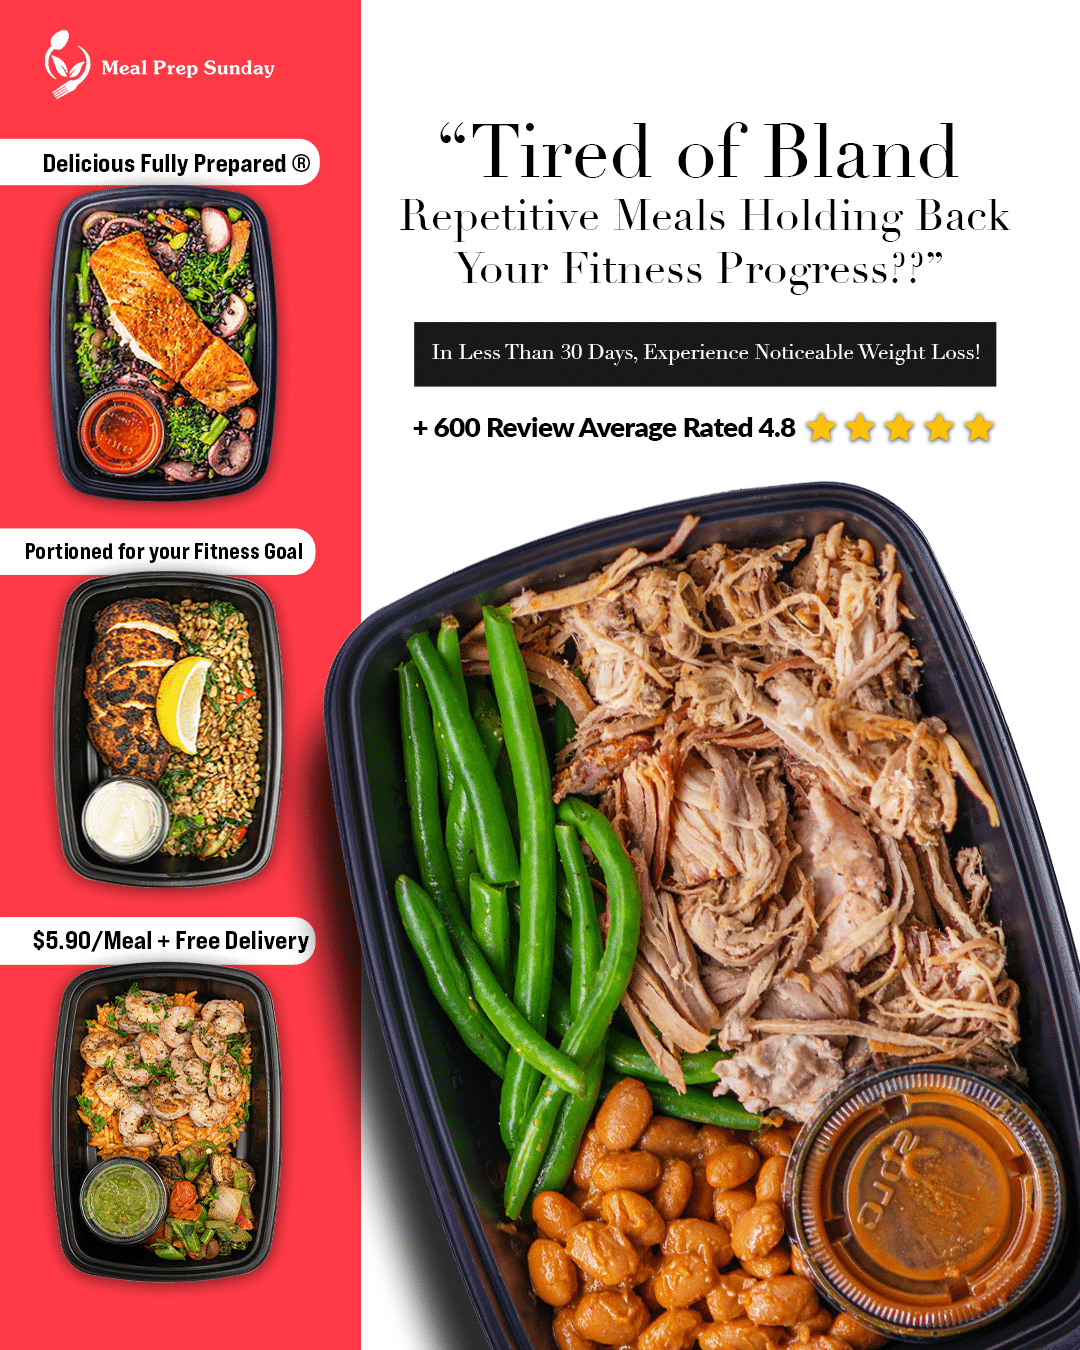
SIMILAR POST >> Meal Prep Sunday Reviews: Is Meal Prep Sunday Legit? Honest!
How to Reheat (The Right Way)
From Frozen — Microwave Method:
Remove the foil. Wrap the burrito in a damp paper towel. Microwave on high for 2 minutes. Flip it over. Microwave for another 1-2 minutes until heated through.
The damp paper towel creates steam that keeps the tortilla soft. Without it, you get a hard, chewy shell.
From Frozen — Oven Method:
Leave the foil on. Bake at 350°F for 35-40 minutes. Unwrap for the last 5 minutes if you want a slightly crisp exterior. This takes longer, but the texture is noticeably better.
From the Fridge (thawed overnight):
Microwave for 1-2 minutes. Much faster, and the result is great. If you have time to plan ahead, move a few burritos from the freezer to the fridge the night before.
Skillet Method (best results, slightly more effort):
Heat a nonstick skillet over medium heat. Place the unwrapped, thawed burrito seam-side down. Cook for 3-4 minutes per side until golden and heated through. This gives you a slightly crispy exterior. It’s worth it on weekends.
Nutrition Breakdown (Approximate Per Burrito)
This will vary based on your protein and cheese choices, but here’s a general range using turkey sausage, cheddar cheese, and vegetables:
| Nutrient | Amount (approx.) |
|---|---|
| Calories | 380–440 |
| Protein | 22–28g |
| Carbohydrates | 32–38g |
| Fat | 14–18g |
| Fiber | 3–5g |
| Sodium | 520–680mg |
To lower calories: use egg whites instead of whole eggs, skip the cheese, and use a whole-wheat tortilla.
To increase protein: add an extra egg, double the protein, or add a scoop of unflavored Greek yogurt into the egg mixture.
To lower sodium: skip the sausage, use fresh herbs instead of packaged seasoning blends, and go easy on the salsa.
Variations Worth Trying
The base recipe is just the starting point.
Southwest Style: Add black beans, corn, roasted jalapeños, and pepper jack cheese. Season with chili powder and lime zest. A little cotija cheese on top after reheating makes it feel restaurant-quality.
Mediterranean: Swap the sausage for crumbled feta and sun-dried tomatoes. Add spinach, diced cucumbers (on the side, not inside — they release too much water), and a squeeze of lemon. Light, different, still filling.
High-Protein, Lower Carb: Use a low-carb tortilla. Load up on eggs, turkey sausage, and a handful of cheese. Skip the beans and potatoes. This variation hits around 30+ grams of protein per burrito.
Vegetarian: Black beans or chickpeas as your protein. Load in the vegetables. Add a tablespoon of nutritional yeast to the eggs for a slightly nutty, cheesy flavor without actual cheese. It works.
Kid-Friendly: Mild sausage, scrambled eggs, shredded cheddar, no spice. Keep it simple. Kids eat these without complaint. That alone makes it worth noting.
Common Mistakes (and How to Avoid Them)
Most freezer burrito failures come down to the same few things.
Overfilling: The tortilla splits. The filling falls out during reheating. Keep it to about ¾ cup of filling and roll tight.
Wet ingredients: Salsa, mushrooms, tomatoes — all release liquid. Drain everything before it goes in. Seriously. This step matters.
Freezing warm burritos: Steam turns into ice crystals, which turn into soggy tortillas. Wait until they’re at room temperature.
Overcooking the eggs before freezing: They’ll cook again during reheating. If they’re fully cooked going in, they’ll be overcooked coming out.
Not labeling: You will forget what’s in there. Takes five seconds. Do it.
Meal Prep Timeline
Here’s how to knock this out efficiently on a Sunday without spending your whole afternoon in the kitchen.
| Time | Task |
|---|---|
| 0–5 min | Gather ingredients, chop vegetables |
| 5–15 min | Cook protein |
| 15–25 min | Sauté vegetables, scramble eggs |
| 25–30 min | Drain fillings, warm tortillas |
| 30–45 min | Assemble burritos |
| 45–50 min | Wrap in foil, label, bag, freeze |
Total active time: about 50 minutes. Most of that is pretty mindless. You can have a podcast going, a show on in the background. It doesn’t demand your full attention.
Storage Tips
In the freezer, wrapped in foil and sealed in a bag: up to 3 months.
In the fridge (fully assembled, not frozen): up to 4 days. Wrap tightly in plastic wrap or foil.
Don’t freeze burritos that have been sitting in the fridge for more than 3 days. That’s a food safety issue, not just a quality one.
If you notice ice crystals forming inside the foil when you unwrap one, your seal wasn’t tight enough, or the burrito was frozen while still warm. Not dangerous, but the texture will be off.
Why This Works for Real Life
Let’s be straightforward about this. Meal prep isn’t for everyone. Some people try it once, find it overwhelming, and give up.
But breakfast burritos are forgiving. If one batch doesn’t come out perfectly, the next one will. The variables are minimal. The ingredients are cheap. A batch of eight burritos — depending on your protein choice — runs somewhere between $12 and $20 total. That’s $1.50 to $2.50 per breakfast.
Compare that to a drive-through. Or a coffee shop. Or just skipping breakfast and overeating at lunch because you were starving.
This isn’t about being perfect with food. It’s about having one less decision to make at 7 in the morning.
That has real value.
A Few Ingredient Swaps for Dietary Needs
| Original Ingredient | Substitution | Notes |
|---|---|---|
| Flour tortilla | Whole wheat or gluten-free tortilla | GF tortillas are more fragile — freeze with extra care |
| Eggs | Egg whites + 1 whole egg | Reduces fat and calories |
| Breakfast sausage | Plant-based sausage | Works well, slightly different texture |
| Cheddar cheese | Dairy-free cheese | Melts differently; add closer to the warm eggs |
| Whole milk | Oat milk or almond milk | Subtle difference in scramble texture |
FAQ
Can I add potatoes to these burritos?
Yes, and it’s a great addition. Dice and roast them at 400°F in olive oil with salt and paprika until crispy — about 25 minutes. Let them cool completely before adding to the burrito. They freeze well and reheat nicely. Don’t use raw potatoes. They won’t cook properly inside the burrito.
Do these taste good after freezing?
They do, especially if you avoid the common mistakes (soggy ingredients, overcooked eggs, weak seal). The texture of the tortilla changes slightly — it becomes a little softer — but the flavor holds up well. Most people are surprised by how good they are.
How do I prevent the tortilla from getting soggy?
Three things: drain your ingredients, cool burritos completely before freezing, and use a damp paper towel (not a soaked one) when microwaving. Also, don’t add fresh tomatoes or wet salsas directly to the filling.
Can I use corn tortillas instead of flour?
Corn tortillas are smaller and crack more easily. They’re not ideal for this application unless you’re making smaller breakfast tacos. If you prefer corn, use two per serving and fold instead of rolling.
How many can I make at once?
Practically speaking, most home kitchens can comfortably handle a batch of 10-12. Beyond that, you’re dealing with a lot of eggs at once and more assembly time. Two batches of 8 over two sessions is easier than trying to do 16 at once.
Can I add avocado inside before freezing?
No. Avocados brown and turn mushy when frozen. Add it fresh after reheating. The same goes for sour cream and fresh salsa. Those are toppings, not fillings.
What’s the best cheese for freezer burritos?
Shredded cheddar or Monterey Jack both freeze and reheat well. Pre-shredded bags work, but block cheese you shred yourself melts more smoothly (pre-shredded has an anti-caking coating that affects melt). Pepper Jack is great if you want heat built into the burrito itself.
Are these good for kids?
Very much so. Just keep the spices mild, use a protein they like, and skip the salsa inside. Eggs, cheese, and mild sausage are a combo most kids don’t argue with. And they reheat in about two minutes, which is genuinely useful on school mornings.
Can I meal prep these without a microwave?
Yes. The oven method works well (see the reheating section above). A skillet or toaster oven also works. The microwave is just the fastest option.
Should I refrigerate or freeze them?
If you’ll eat them within 3-4 days, the fridge is fine. If you’re prepping for the full week or beyond, freeze them. The quality difference between a fridge burrito and a frozen-then-reheated burrito is minimal if you’ve wrapped them properly.
SUGGESTED POST >> 33 Meal Prep Recipes for Lunch That Are Very Healthy